
Install Kleis
Prerequisites
Section titled “Prerequisites”You need the Kleis purchase email and a WordPress administrator account. Do not unzip the plugin file before uploading it.
Install the plugin
Section titled “Install the plugin”-
Open the purchase email and use its download link to save the latest Kleis ZIP file.
-
Sign in to WordPress.
-
Go to Plugins > Add Plugin.
-
Select Upload Plugin.
-
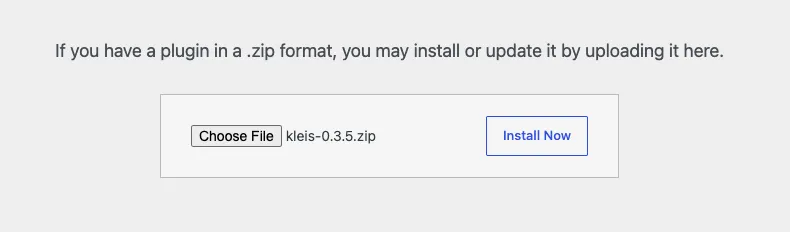
Choose the Kleis ZIP file, then select Install Now.
-
When installation finishes, select Activate Plugin.
-
Go to Settings > Kleis for Planning Center.
After activation, Kleis appears in the installed plugins list:

If WordPress rejects the ZIP
Section titled “If WordPress rejects the ZIP”- The package could not be installed: Download the file again and confirm you selected the original ZIP, not a folder or a ZIP created by your computer.
- File exceeds the upload limit: Ask your host to increase the WordPress upload limit or upload the plugin through the host’s approved file-management process.
- Destination folder already exists: Go to Plugins > Installed Plugins and look for Kleis. Update or remove the incomplete older copy before trying again; take a backup first.
- You cannot see Add Plugin: Your account or managed host does not permit plugin installation. Ask a site administrator to install it.
You should now see: “Kleis for Planning Center” in the installed plugin list and a Kleis settings page under Settings.
Next: Activate your license.